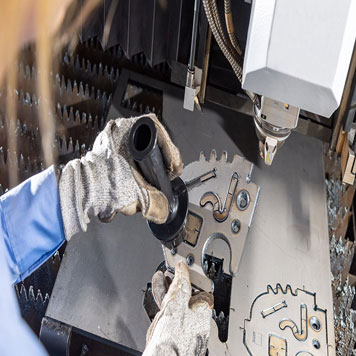
In the world of modern fabrication, laser cutting has revolutionized how we shape and finish materials. One advanced technique that can significantly improve assembly quality and aesthetics is high-precision countersinking. Whether you’re working with metals, plastics, or composite materials, mastering countersinking with a laser cutter requires the right settings, techniques, and understanding of the process.
This guide walks you through practical tips for achieving flawless countersunk holes with your laser cutting machine.
What is Countersinking in Laser Cutting?
Countersinking is the process of creating a conical recess around a hole so that fastener heads (such as screws or rivets) sit flush with or below the surface of a material. Traditionally done with drill bits or milling tools, countersinking can now be performed using high-precision laser systems.
Laser-based countersinking offers:
- Non-contact cutting – reducing tool wear
- High repeatability – perfect for mass production
- Tight tolerances – ideal for aerospace, electronics, and medical parts
- Minimal material distortion – thanks to precise thermal control

Key Laser Cutting Tips for High-Precision Countersinking
1. Select the Right Material and Thickness
Not all materials behave the same under laser heat.
- Metals (like stainless steel, aluminum, and titanium) require optimized beam power and multiple passes.
- Acrylics and plastics can be laser-countersunk but need lower energy to avoid melting or discoloration.
- Always check the thickness—thin sheets (<1 mm) may require micro-pulsing instead of continuous beam exposure to prevent warping.
2. Dial in the Correct Laser Parameters
Your countersink quality depends heavily on your laser settings:
- Power – Start at lower wattage and gradually increase to avoid excessive kerf width.
- Focus depth – Position the focal point slightly below the surface to create a smooth taper.
- Pulse frequency – Higher frequencies help achieve finer edges in metals; lower for plastics.
- Cutting speed – Too fast leaves incomplete recesses; too slow causes thermal deformation.
💡 Pro Tip: For materials prone to oxidation (like carbon steel), use a nitrogen assist gas to prevent edge discoloration.
3. Use Multi-Pass Machining for Better Control
Instead of cutting the entire countersink in one pass:
- Start with a shallow, high-speed pass to define the perimeter.
- Follow with progressively deeper passes to achieve the desired angle and depth.
This reduces thermal stress and gives you better control over the taper.
4. Calibrate Your Countersink Angle
Typical countersink angles are 82° and 90° for standard screws, but some applications require custom tapers.
- Adjust the focus and beam path to match the desired angle.
- Run test cuts on scrap material before production to ensure precision.
5. Minimize Burr Formation
Burrs are a common issue in countersinking, especially with metals.
- Use proper gas assist pressure to blow away molten debris.
- Post-process with light deburring tools if needed, but the right settings should eliminate most burrs.
6. Inspect and Measure Regularly
Invest in digital microscopes or high-resolution cameras to check:
- Depth consistency
- Angle accuracy
- Edge smoothness
For critical applications, use a coordinate measuring machine (CMM) for dimensional verification.
Applications of Laser Countersinking
High-precision laser countersinking is used in:
- Aerospace components – flush-fitting rivets for aerodynamic efficiency
- Electronics – precise mounting holes for circuit boards
- Medical devices – smooth, burr-free holes for hygiene and safety
- Custom furniture & décor – clean screw fittings without visible protrusions
Final Thoughts
Mastering high-precision countersinking with laser cutting is all about control, calibration, and consistency. By fine-tuning your laser settings, carefully selecting materials, and regularly inspecting your results, you can produce flawless countersinks that enhance both the functionality and appearance of your projects.
